
8 Product Photo Tips for Your Etsy Shop

“Business Hat Photos”, illustration by Amanda Weedmark
You’ve put a ton of work into your Etsy shop. Now it’s time to let that work shine with some great product photos.

Having great product photos is important since a photo will be the FIRST thing a customer sees when your product pops up in their search query. Great product photos should grab attention and clearly show the product or design.
However, photography may not be your strong suit. It also might not be something you can delegate to a professional, especially if your shop is new.
So, here are 8 tips that will help you take great product photos for your Etsy shop, regardless of your skills or equipment.
Tip #1: Find your Light
First, you’ll need to scout out a light source.
Natural light, that is out of direct sunlight, is highly recommended as it won’t skew the color of your product or cast harsh shadows. Light kits and light boxes are great for recreating this natural light in an indoor environment.
In order of “best results”, here are some suggestions to try:
Outside on a cloudy day
Outside (in a brightly shaded area) on a sunny day
Inside using a light kit or lightbox (Great for rainy west coast locations)
A sunny day, using a DIY diffuser
Inside, near a window
Once you’ve sourced your light, take some rough test shots before doing a full set up.
Tip #2: Aim for Quality
Since Etsy recommends a 2000 pixel image for your product listing, you’ll want to set your camera (phone or DSLR) to the highest quality setting. This will give you the sharpest results and largest photo output.
Having it set at the highest quality setting, will also allow you to use these photos for other things like a lookbook or other promotional print material.
Shooting in a high-quality RAW setting, will allow you to adjust all kinds of things prior to importing into a program like Photoshop.
Tip #3: Clarify your Creative Direction
Identifying the visual “flavour” of your product, its use, and the type of people who might purchase your product, will give you an idea of how to style it and what types of photos to take.
Answer these questions, to clarify your creative direction.
What’s the inspiration behind your product?
Describe your product using as many adjectives as you can; Simple, pastel, earthy, rustic, etc.
Who is your product for?
What is its purpose?
How big it is?
What’s your product made of?
How is it made?
Where is it made?
How is it packaged?
What does it look like in use?
Is it available in a variety of colors or sizes?
With this information, you can figure out ways you might style your photos in addition to the type’s of photos to include in your listing.
Tip #4: Add some Style
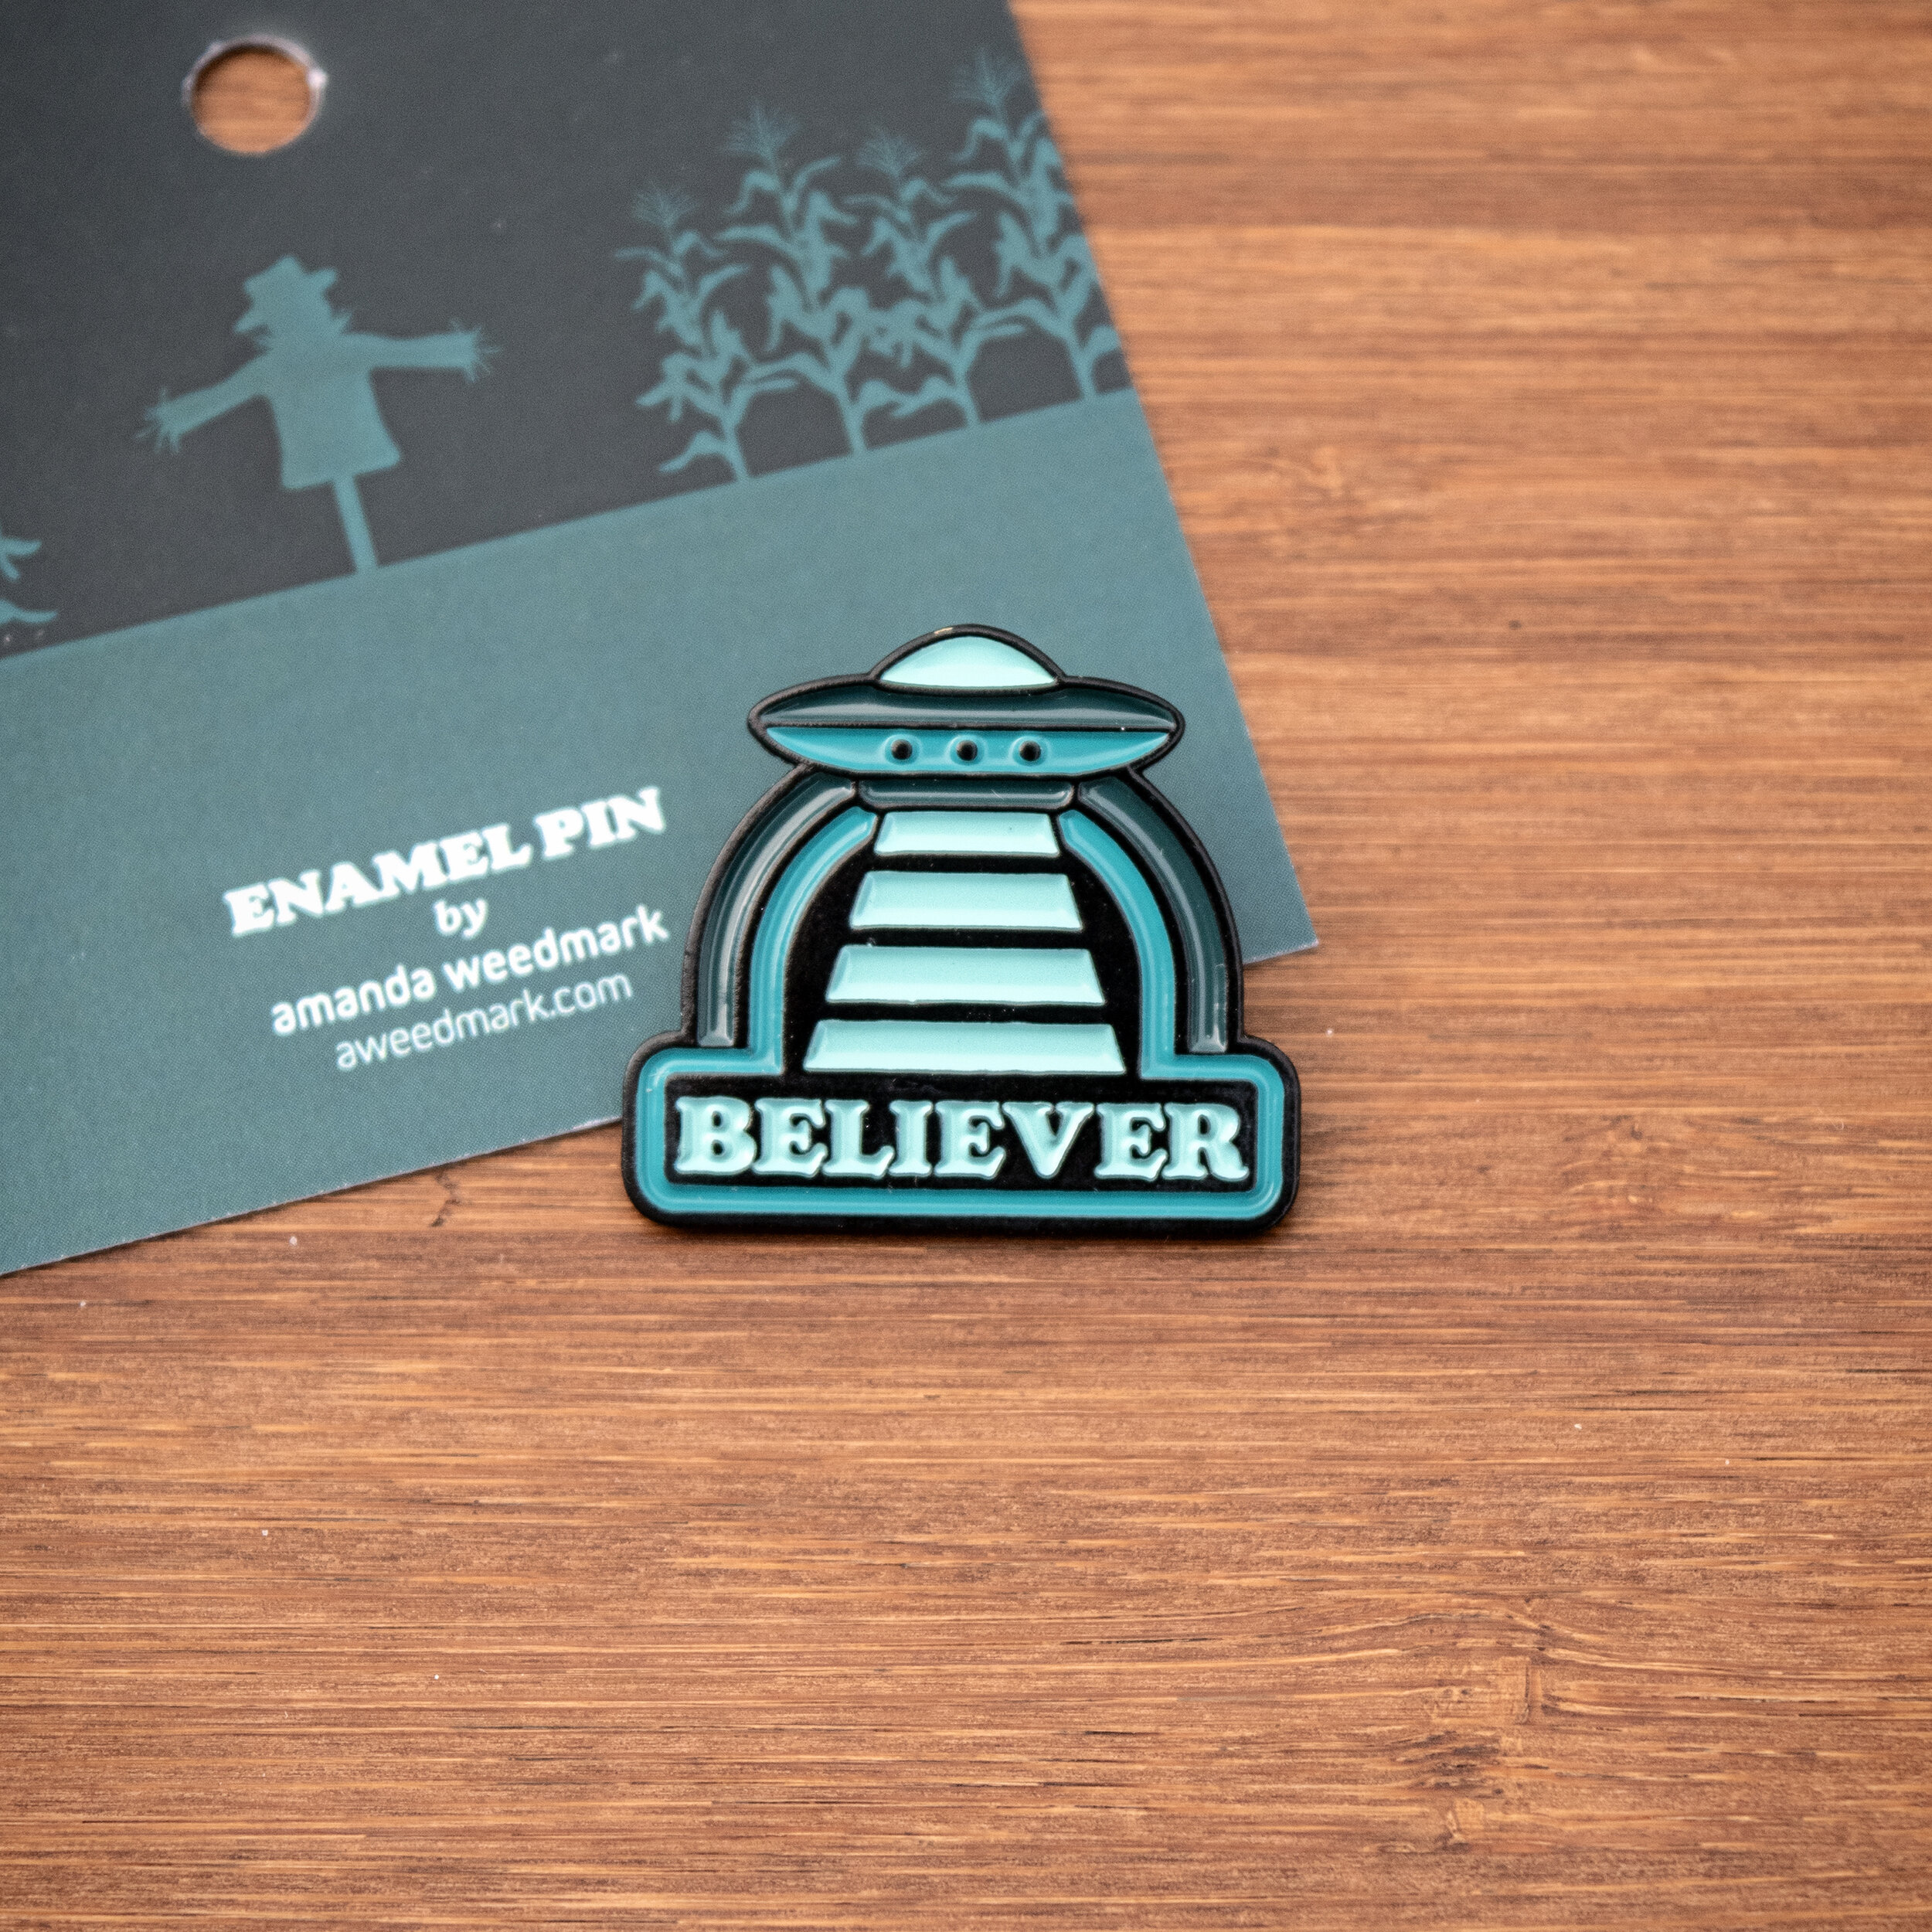
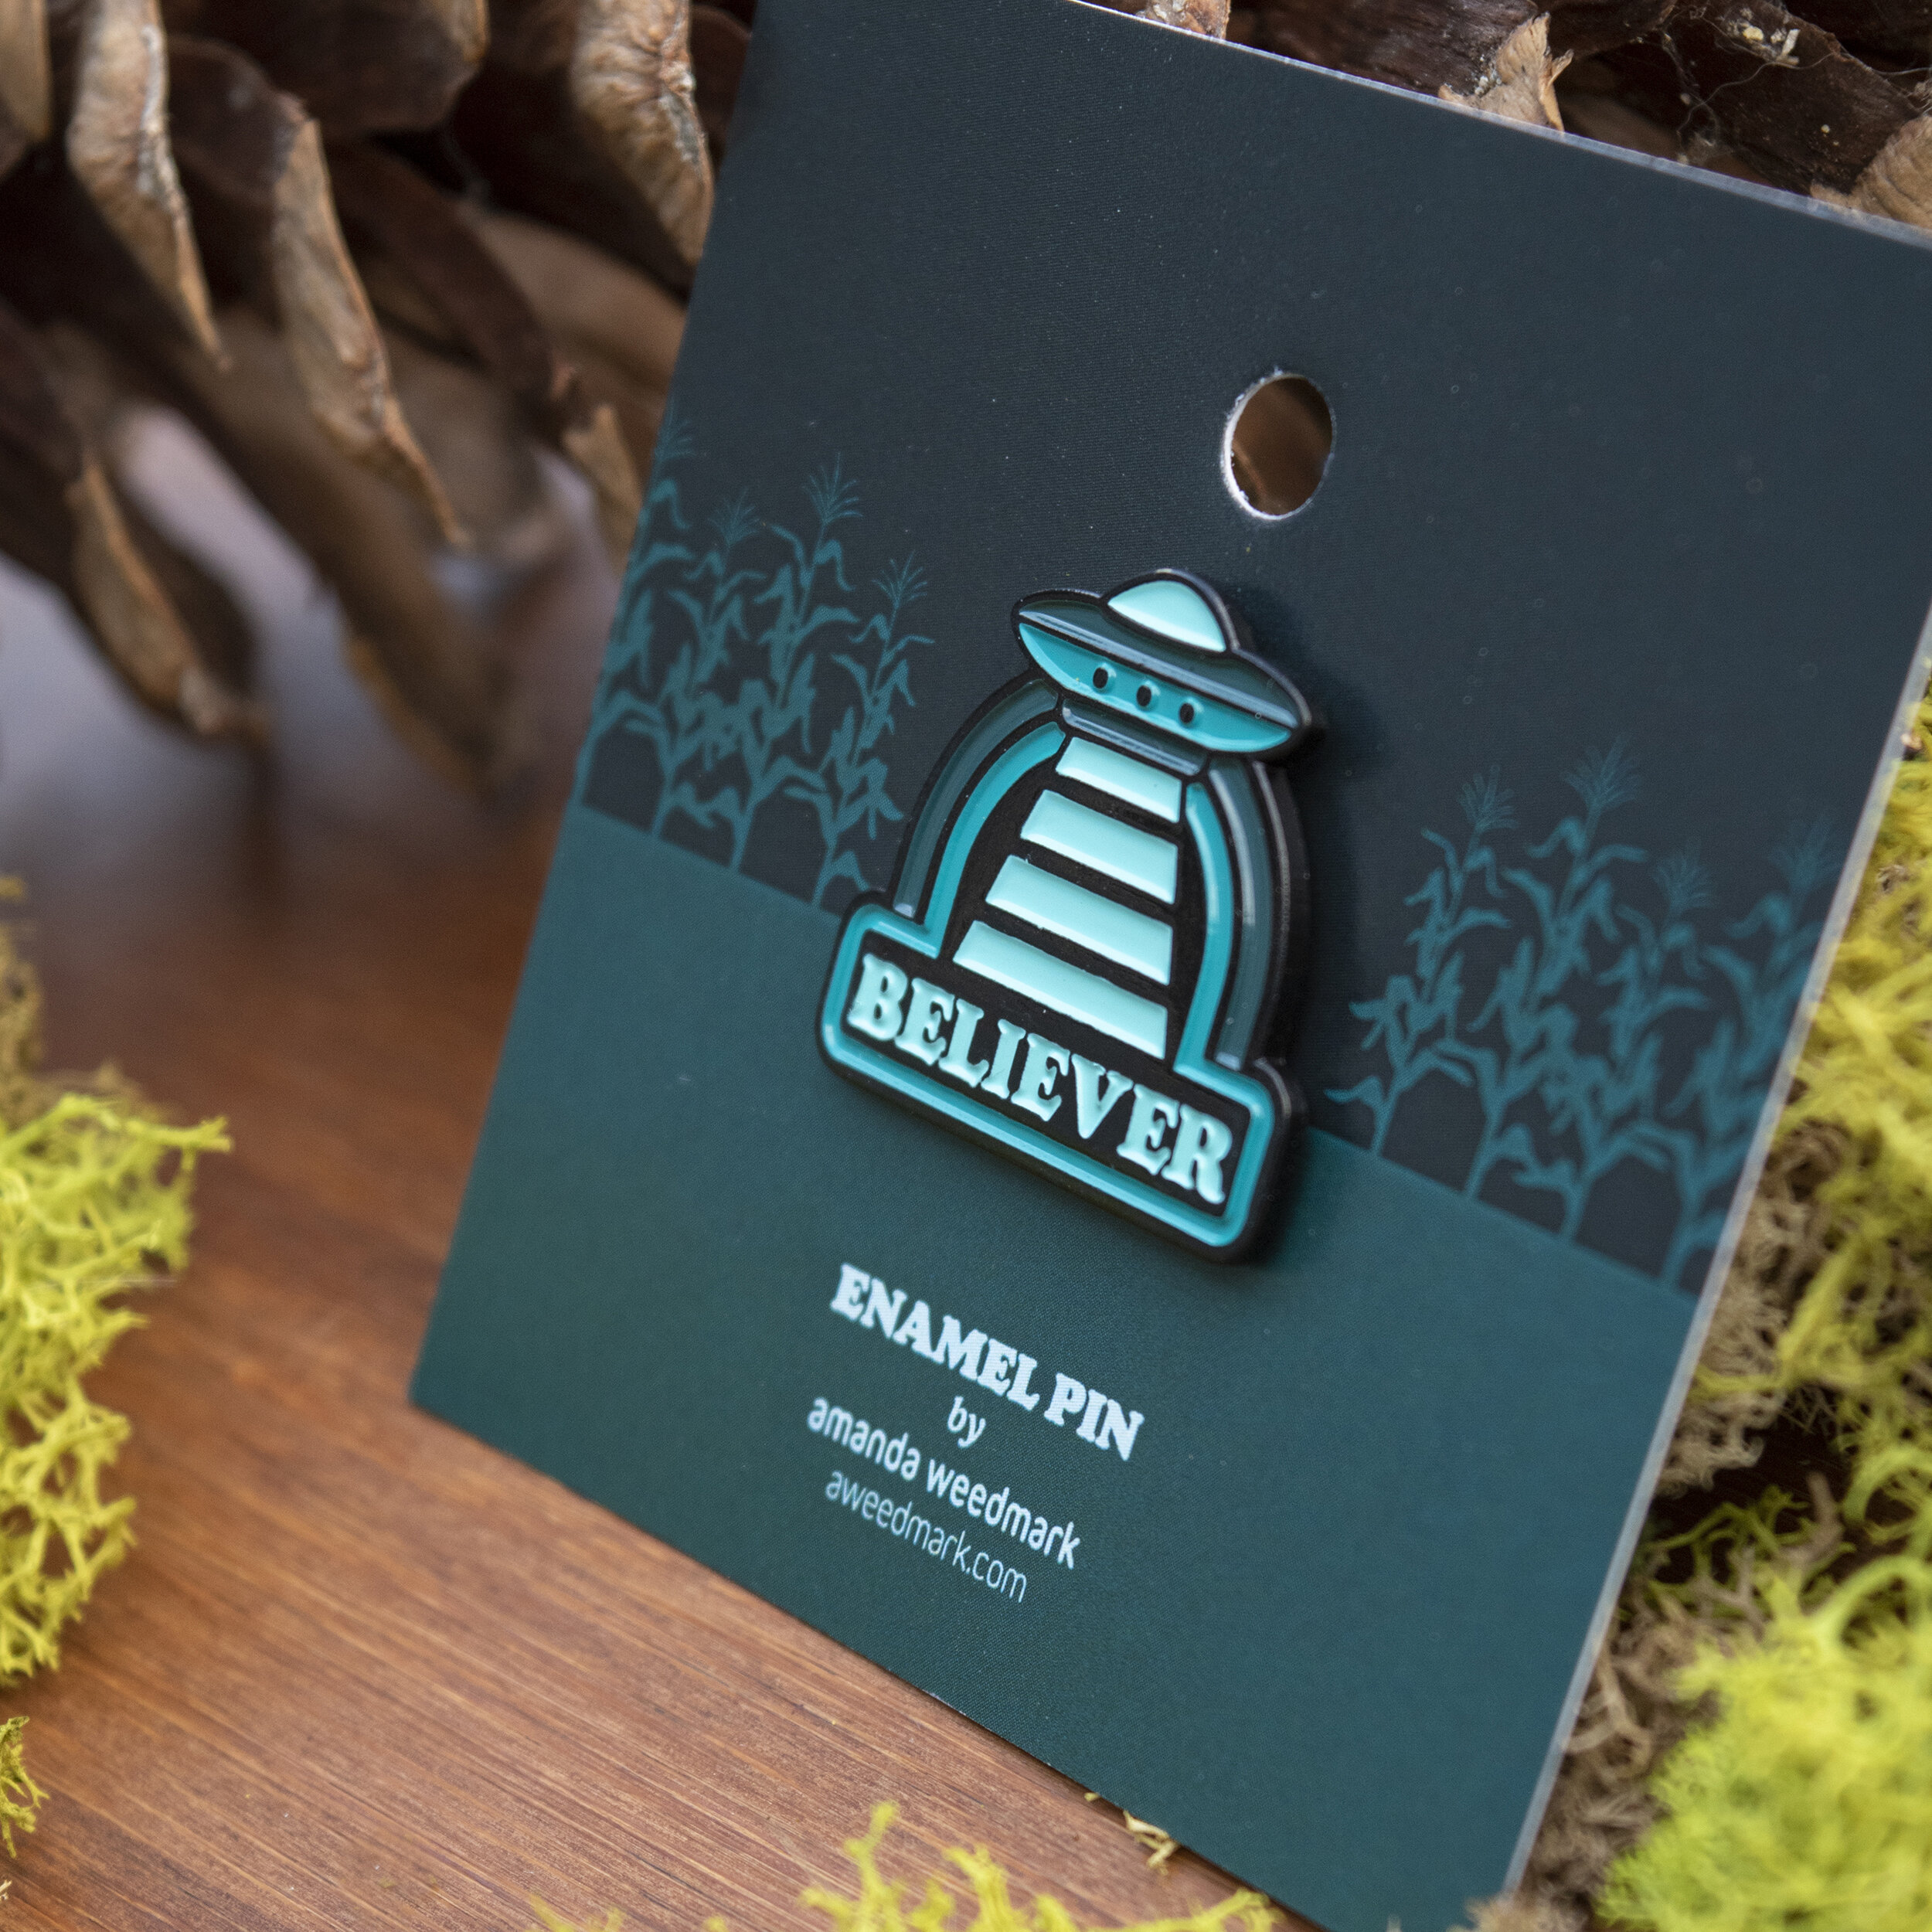
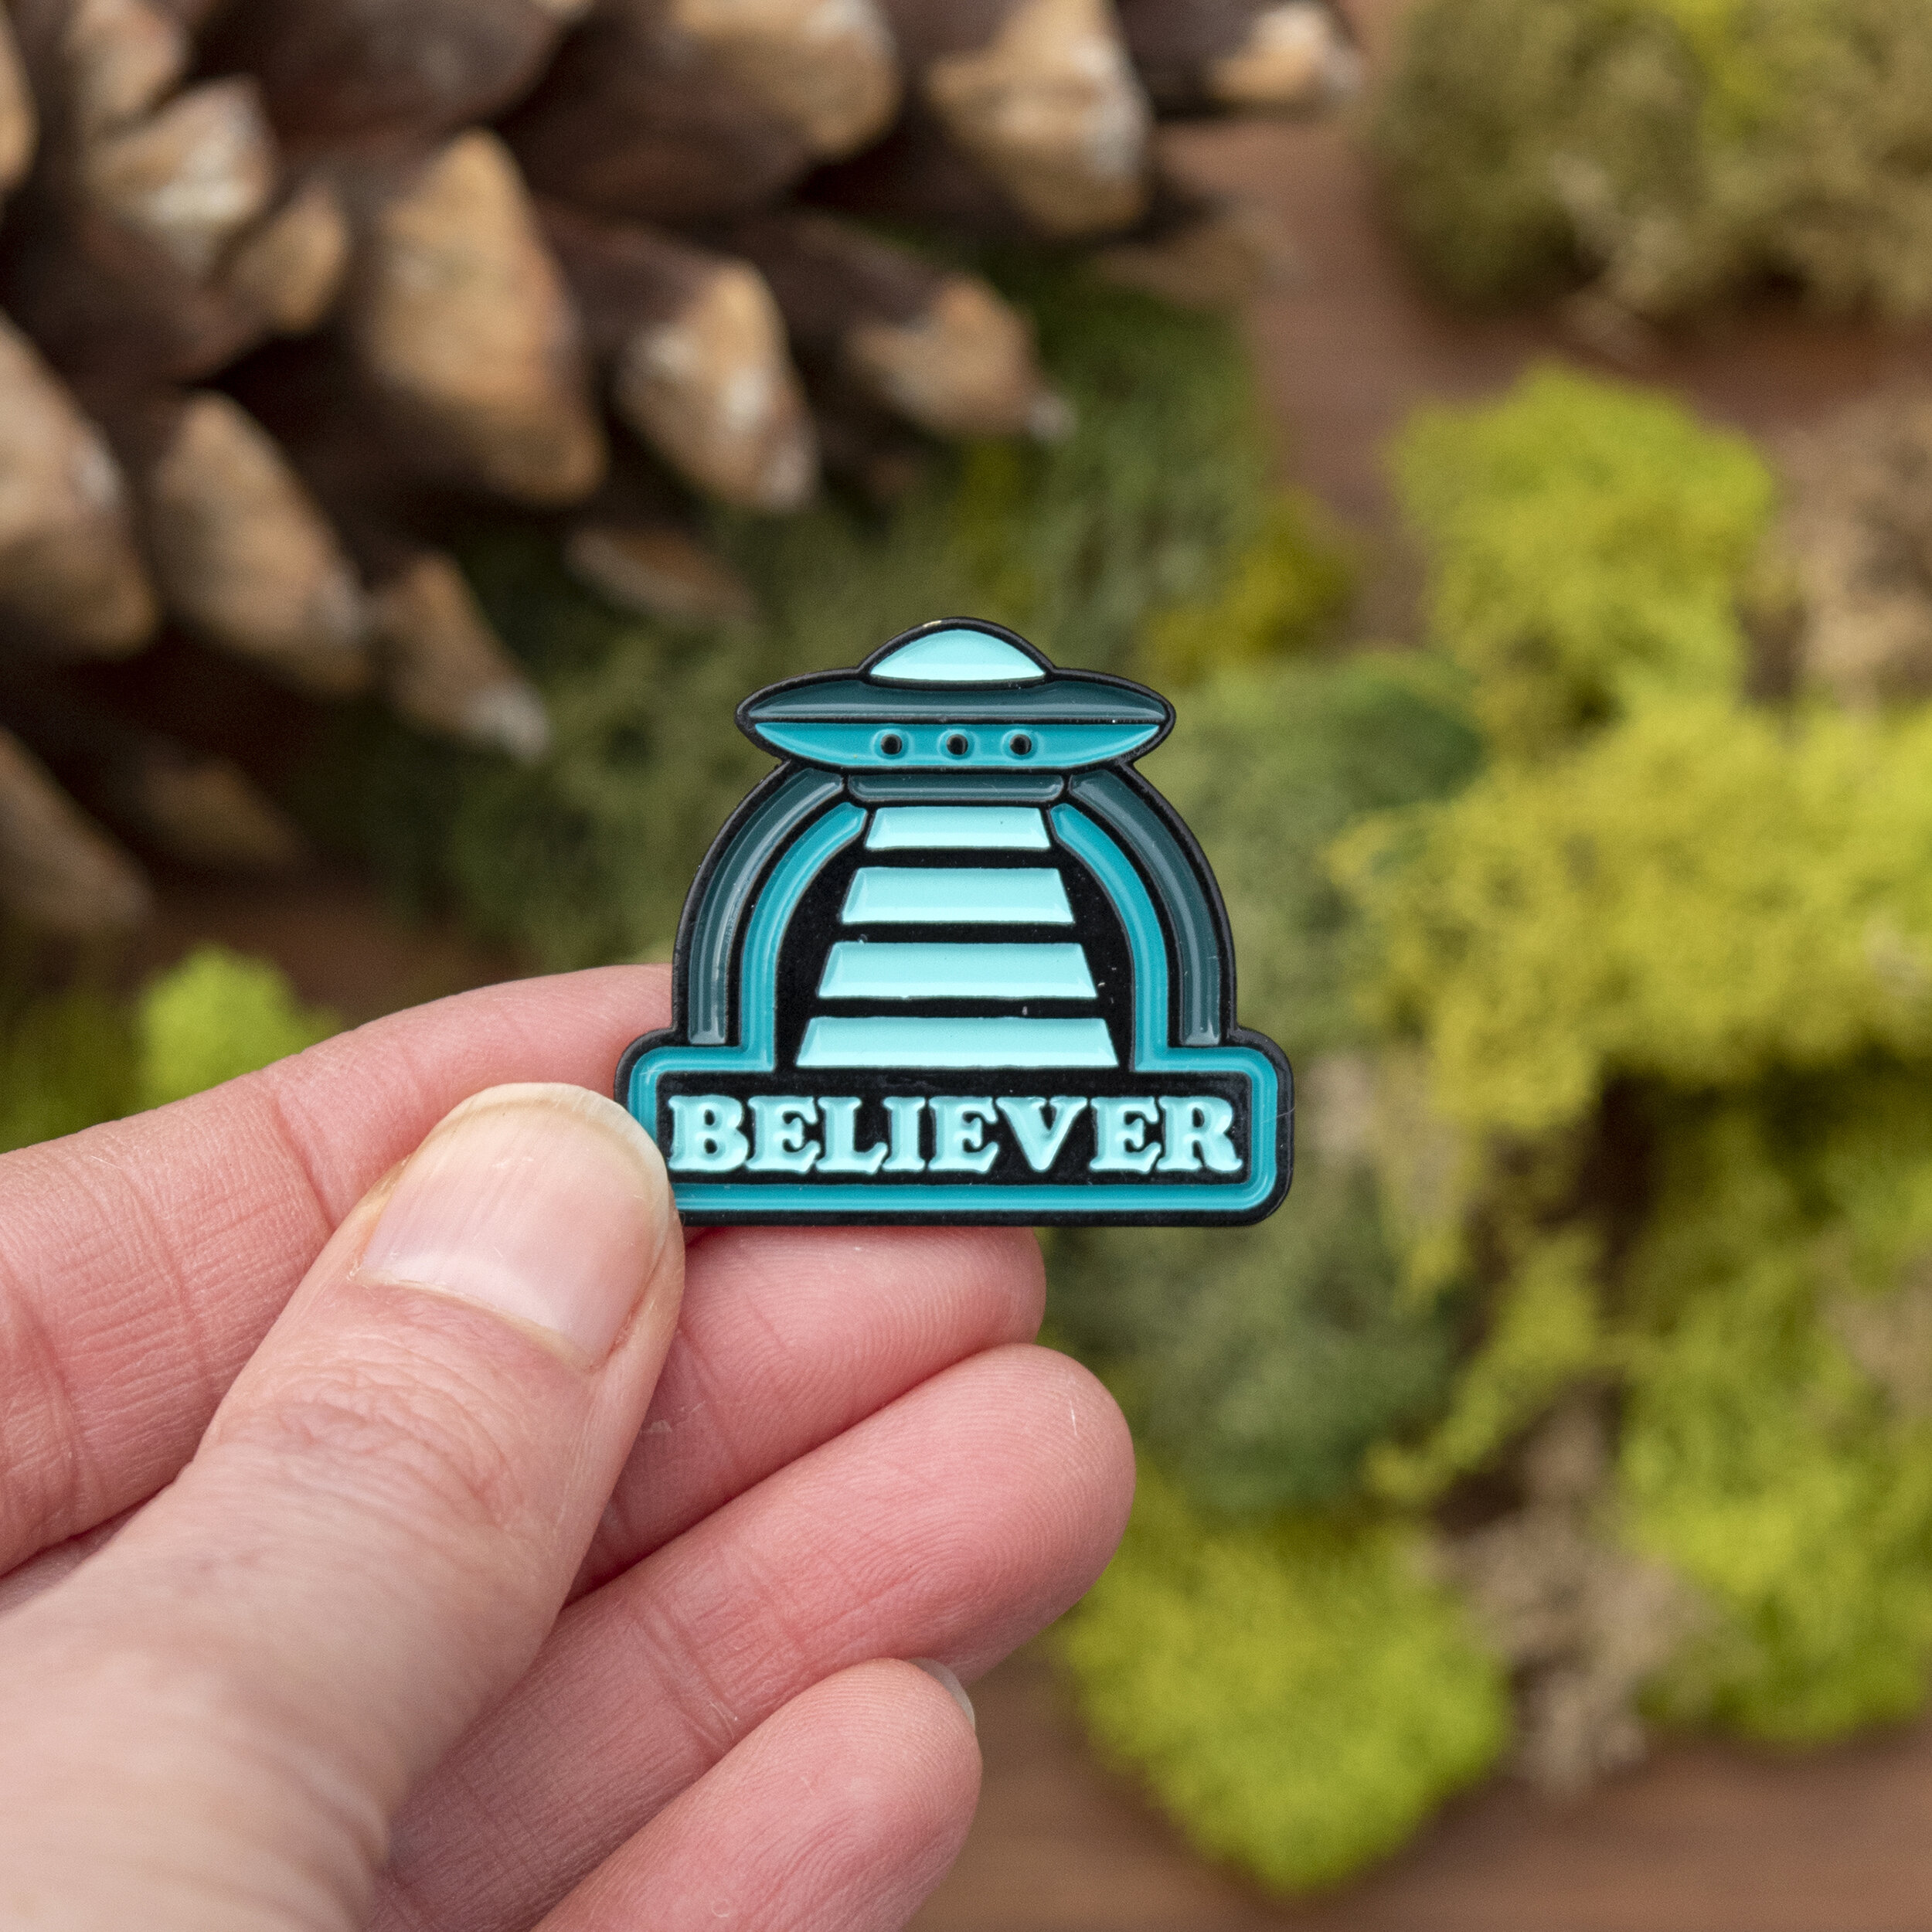
“Contrast (foreground vs. background, large vs. small, detailed vs. simple, blurry vs. focused) is the best trick in the book when it comes to creating compositions that are pleasing to the eye”
Styling your photos can inject some personality in your product photos, entice the senses, and make your product really “pop”.
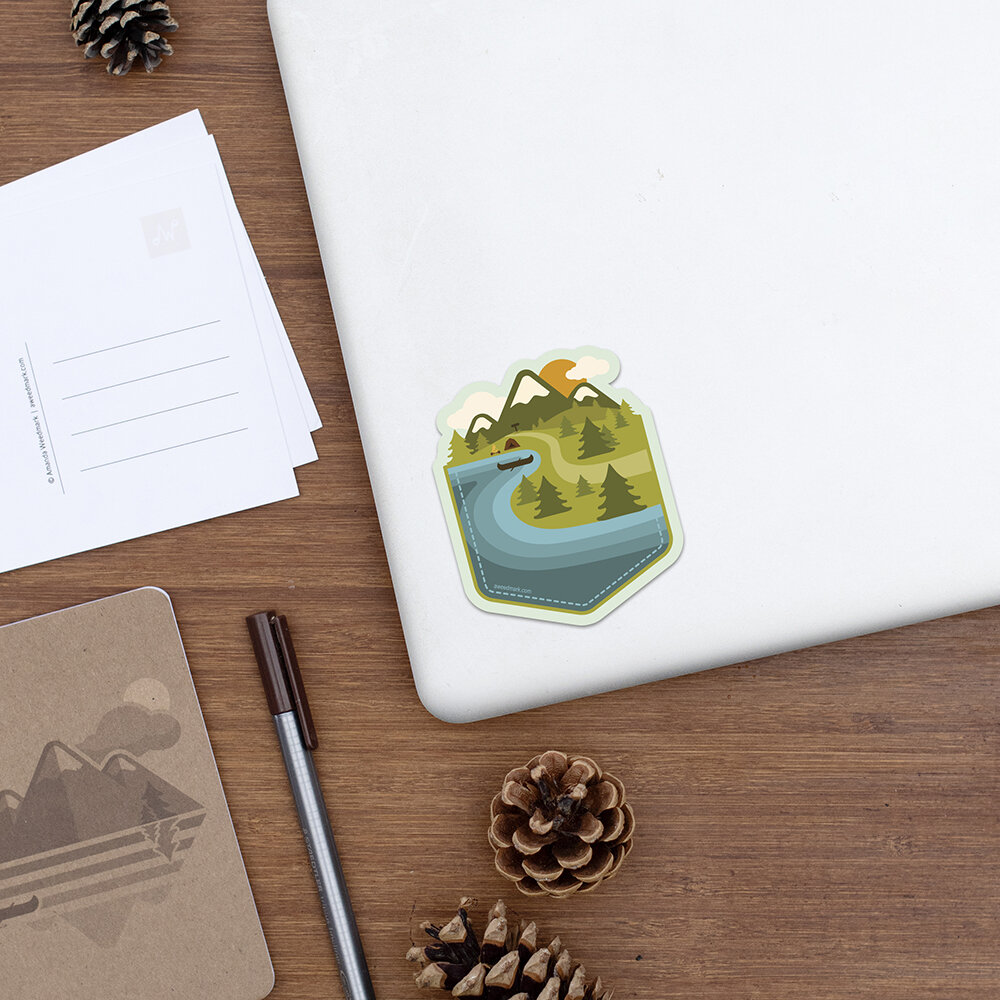
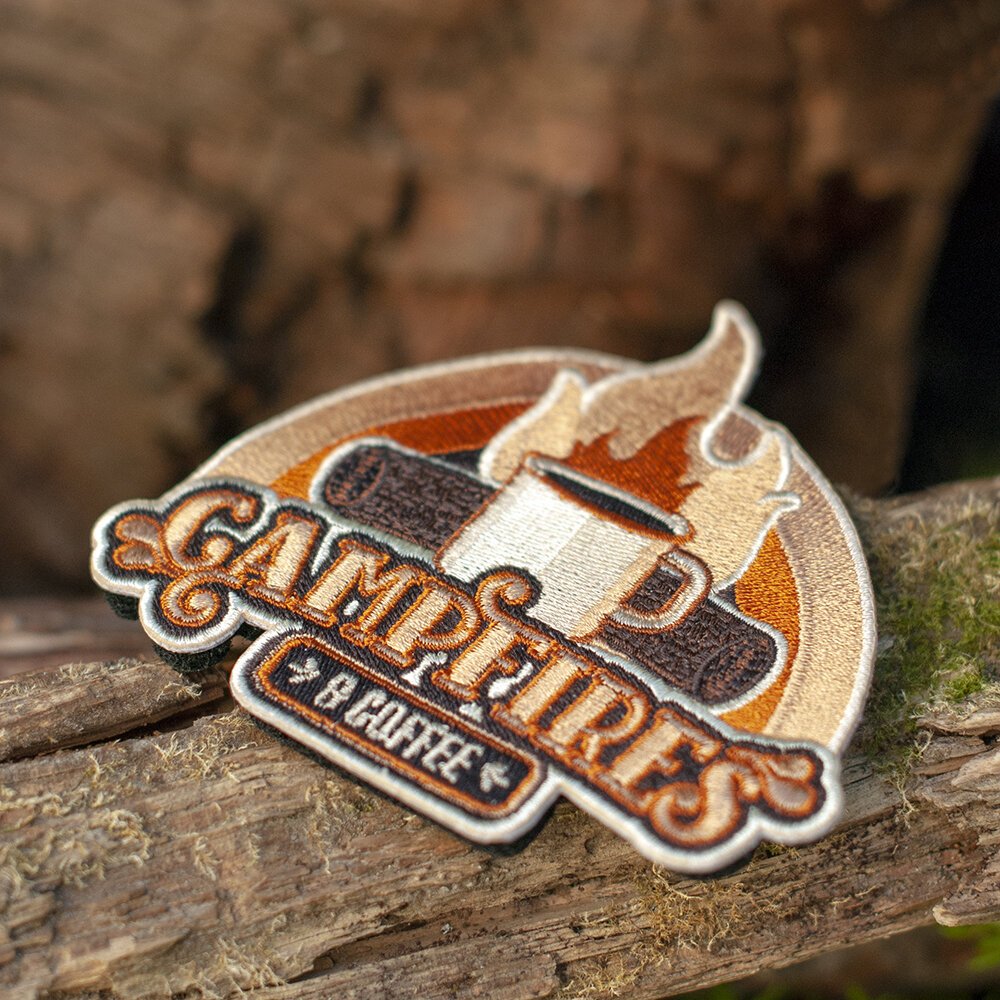
This part of the process may take you some time and multiple test shots, until you figure out what works and find the right balance between product and prop.
When your product has the same visual weight as supporting props, it will be tough for a viewer’s eye to focus on what’s being sold.
However, when your product is the only thing with “visual weight”, it will become the focal point. Yet still complimented by the props.
Visual contrast is the best trick in the book when it comes to creating compositions that are pleasing to the eye. It is when opposing elements are used to create tension and guide the eye; Foreground / background, large / small, detailed / simple, blurry / focused.
Zooming in is another little trick that allows supporting elements or props to fall outside of the photo frame, bringing more focus to your product.
Examples of all of these things can be seen in the photos here.
Not sure where to begin? Start with the most basic photo you can take without props. Then start adding items of different shapes, sizes, colors, use different angles, move things around, take things away.
You’ll have to experiment to see what works best. Get some feedback from friends or peers. Research ideas.
Be patient in this process. Once you get a feel for the types of photos you want to capture, you’ll be faster to setup and it will be easier to get the photos you need.
Tip #5: Add some Variety
As an Etsy buyer myself, there’s nothing worse than clicking on a product image to see more and realize there’s only one shot of the product. OR 5 similar photos that don’t offer any further detail.

By adding a bit of variety to your product photos, you will further engage your customer and can possibly offer a little insight into your business or you, as an artist.
Below is a list of shots you can take of your product that will add some variety and interest to your listing and help you use all 10 photo slots, as recommended by Etsy.
Top down (flat lay)
Angles
In-use / in-situ, with or without people / animals
Close up / detailed / macro
Showing scale / size / color options
The making of
Product being packaged
What questions do you get asked the most? Feature that.
Other photos to fill the gap could be:
an About photo (Who are you? What do you stand for?)
a discount code photo / newsletter sign-up photo
other places to find you online
Tip #6: Don’t Forget to Touch Up
Even under the best conditions, most photos don’t come out of the camera perfect so some photo editing will be required.
Touch ups may include adjustments of levels, brightness or contrast, and overall tone. It also may include cropping, slight rotations, and overall size reduction.
Research the program that works best for you and practice adjusting your photos.
Adjustments you may need to make:
Levels
Brightness & Contrast
Hue & Saturation
Exposure
If the camera settings are setup properly, these adjustments should be only be slight. Anything that requires heavy adjustment, may need a reshoot as too many adjustments can really alter how a product looks.
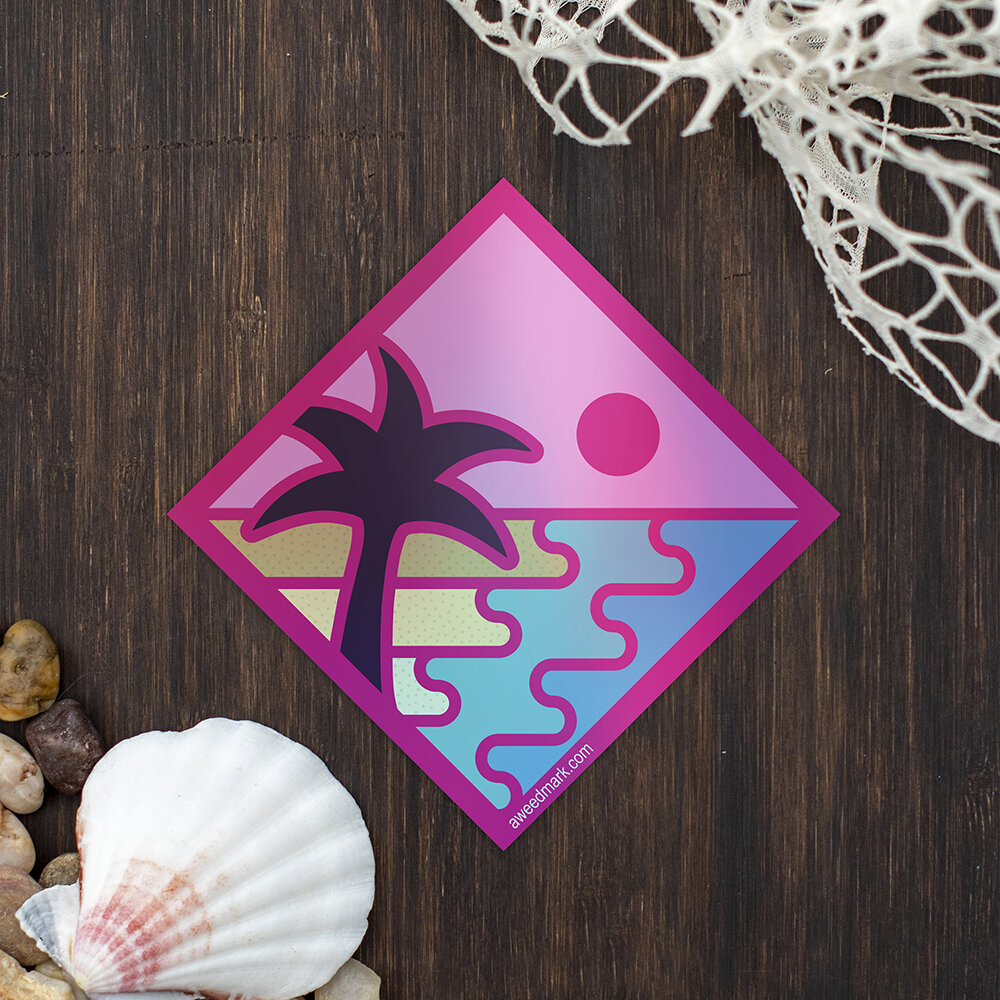
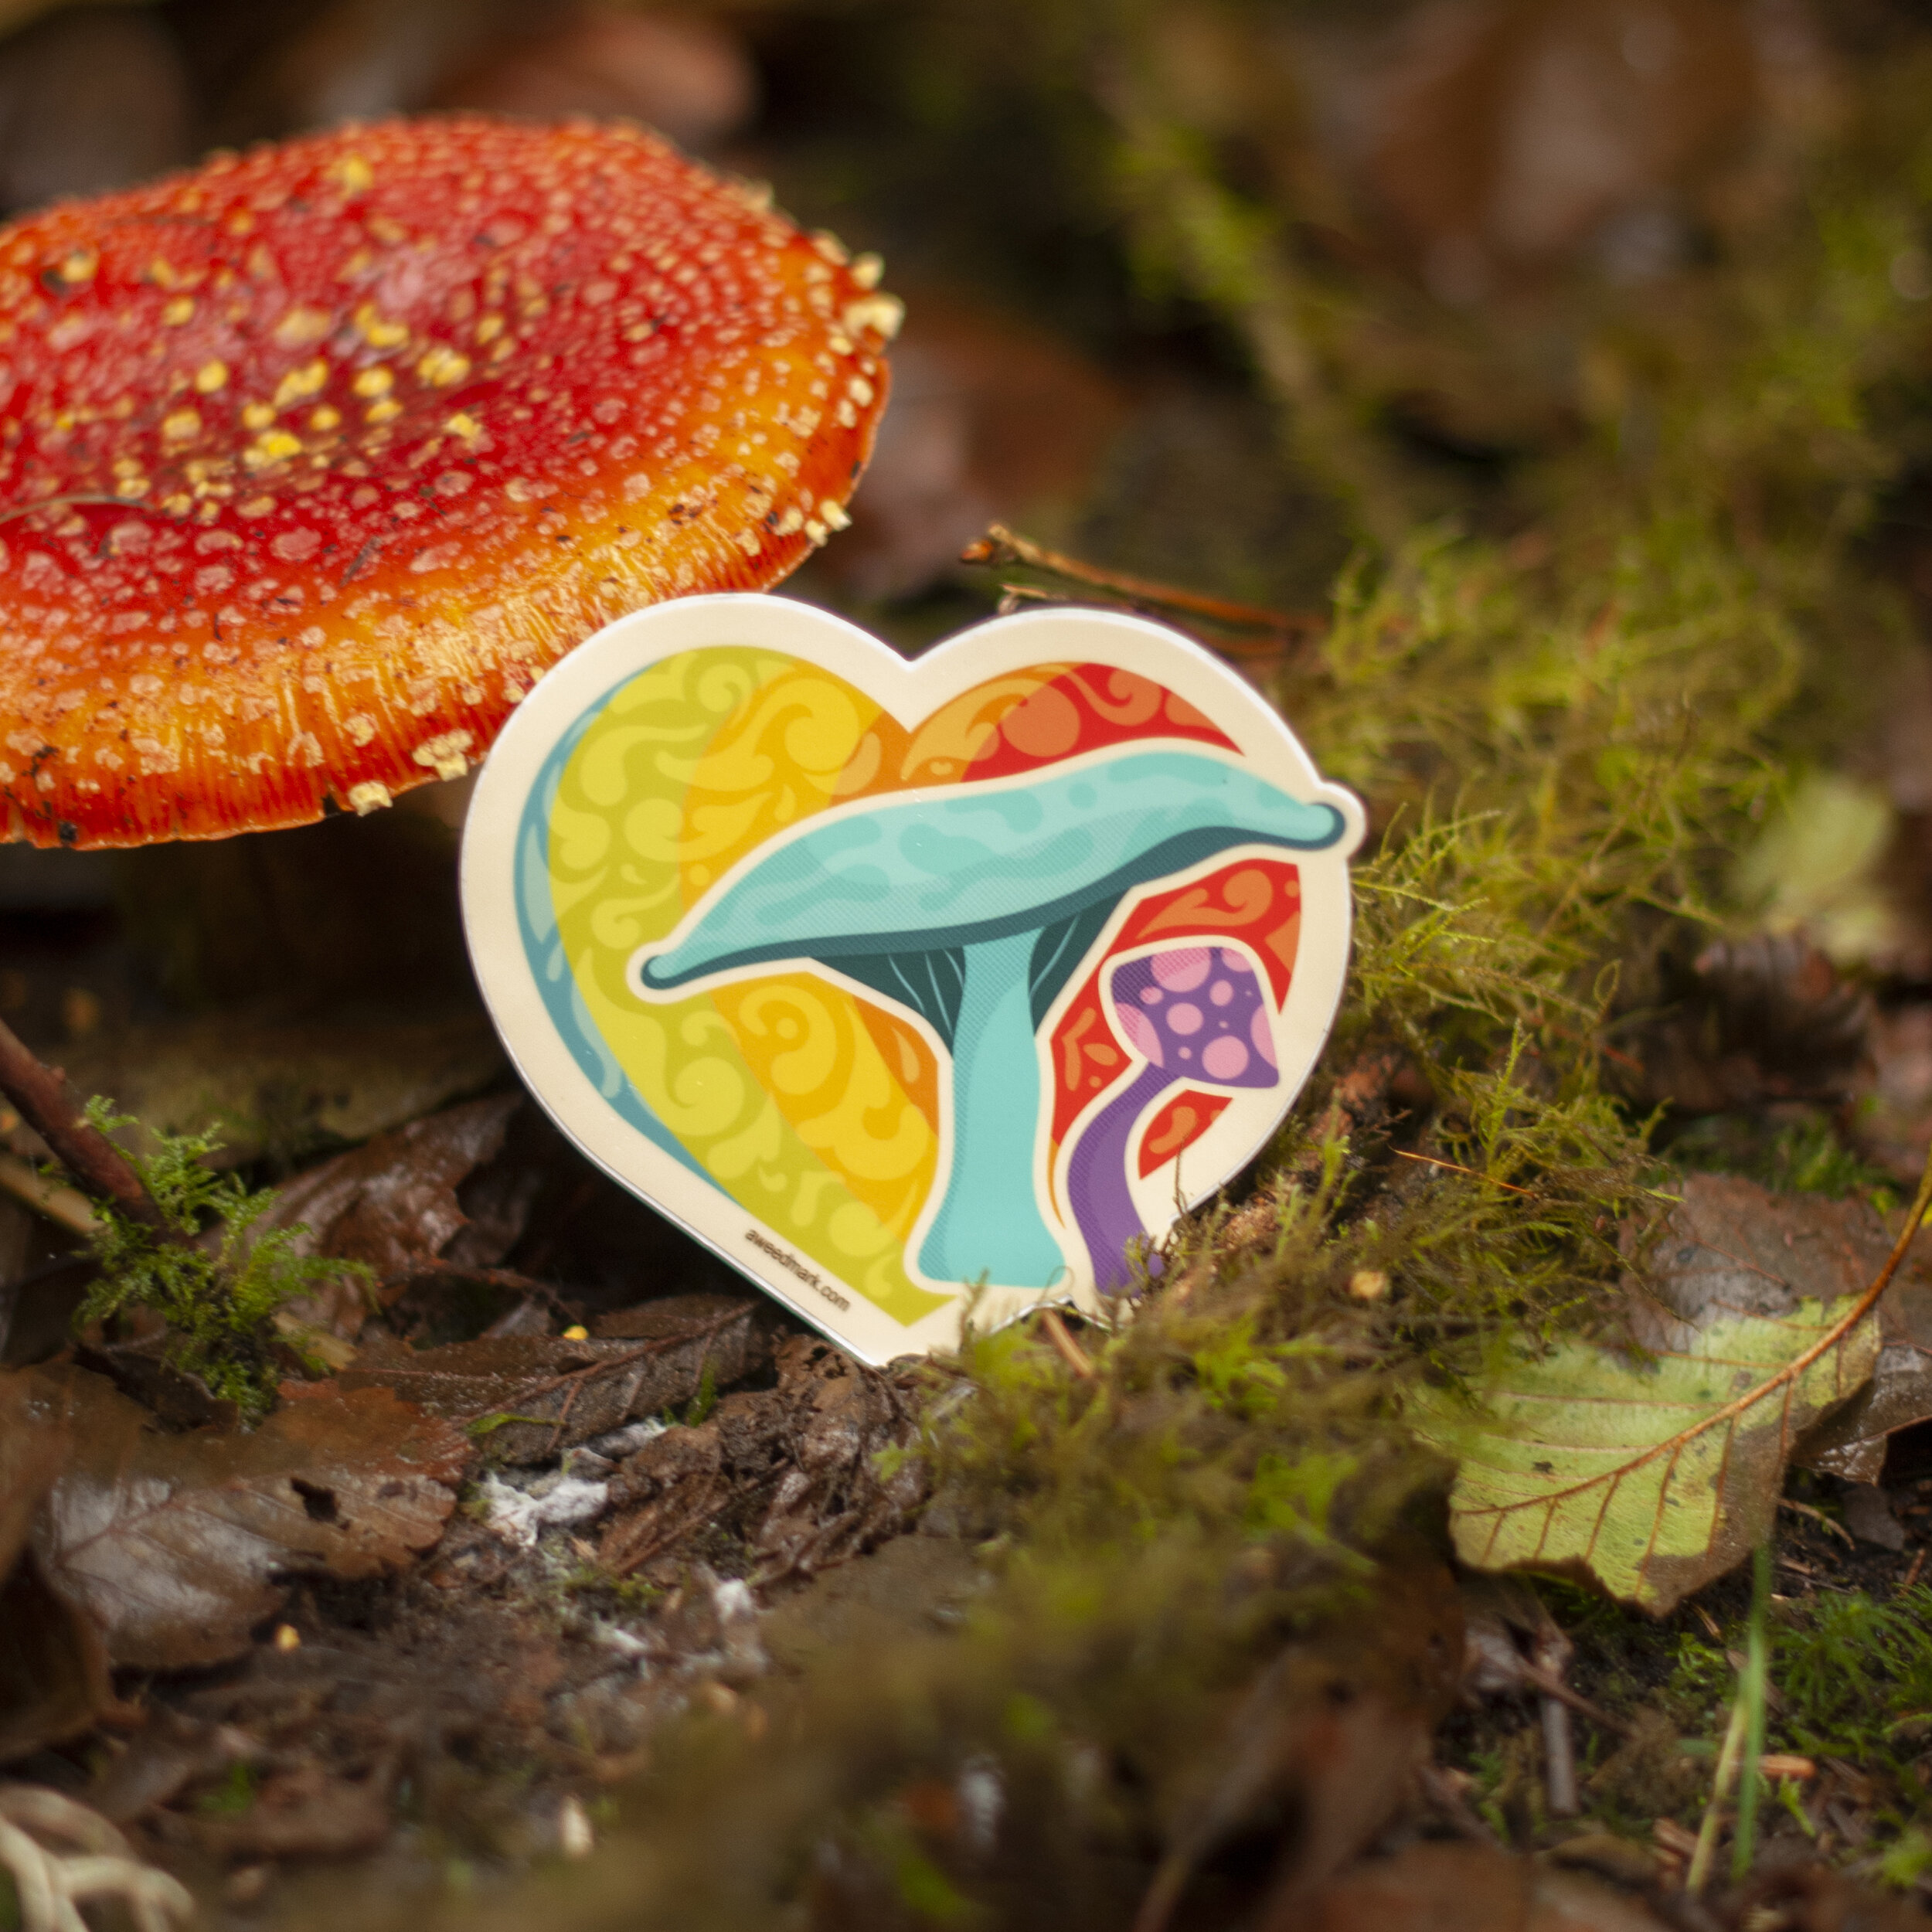
Tip #7: Avoid Use of Strong Filters & Effects
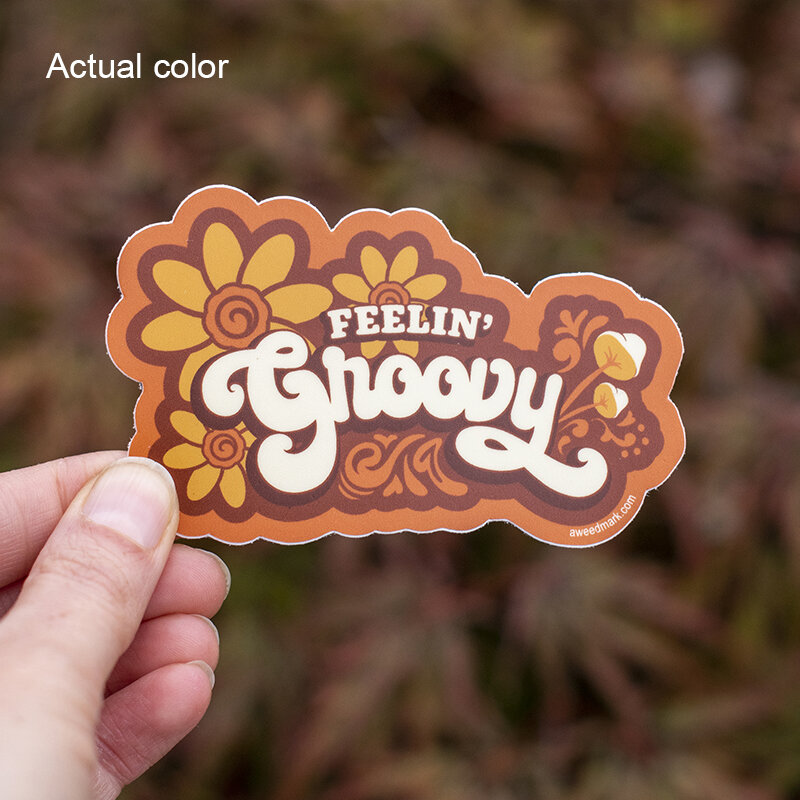
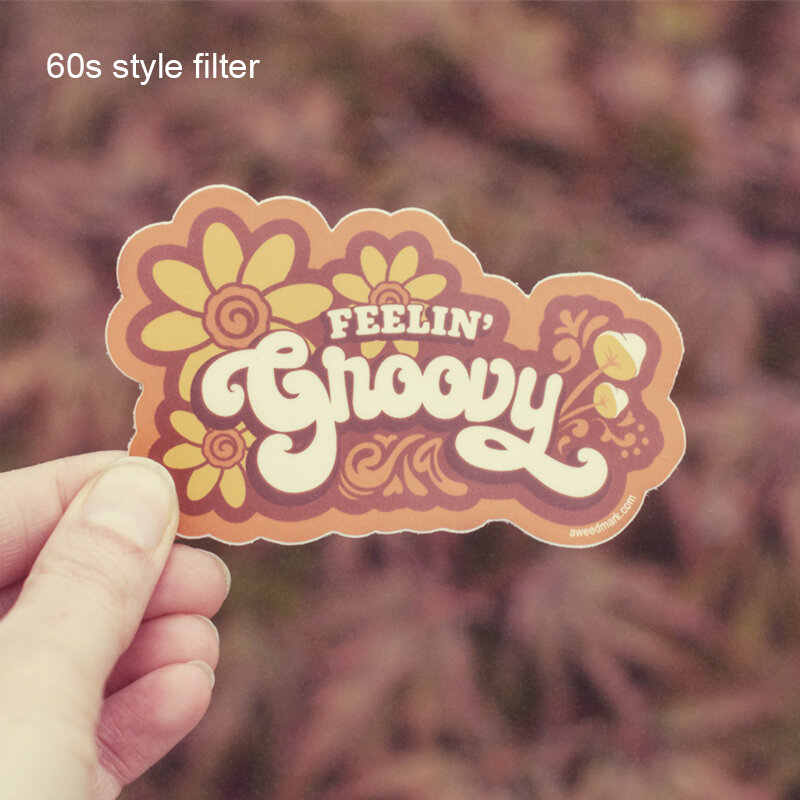
Photo filters and effects will also alter how your product looks in real life which could give your customer the wrong impression about color. This could leave them disappointed; And you with a bad review.
To avoid that, use filters and photo effects, sparingly.
While filters and effects can offer some level of branding and enhancement, they can sometimes do more harm than good if applied too heavily.
In the example here, you’ll see the original photo of my Feelin’ Groovy sticker beside a photo with a heavy 60s style filter.
While the 60s filter is cool and speaks to the style of the design, it could give the impression this product is more faded than it actually is.
Tip #8: Mock it up
You might need or want a particular type of photo for all or most of your products. Or, maybe you’d like to reduce the amount of time it takes to create a product photo.
In this case, I would recommend using mockup photos alongside some of your own photos. They are a great way to save time and get a great product photo, every time, while saving you time.
You can purchase commercial licenses from sites like Creative Market and with just a few clicks, your product photo is ready to go.
The only downside to mockups is that it COULD look like someone else’s, since these photos aren’t exclusive to a single shop or person.
It can also LOOK like a mockup photo, which doesn’t truly feature the product naturally. Both can give an unprofessional impression and may not authentically represent your product.
Using mockups in combination with your own product photos will ensure a good balance and a more accurate representation.
Remember that product photography can make or break whether a customer clicks on your product listing. A great photo will instill a sense of professionalism, offer clarity, and encourage a purchase. Hopefully these tips help you achieve that.
Share your product photography below and let me know if these tips helped!
Stay tuned for the next chapter where we look at writing thorough descriptions for your Etsy shop.
Or, read by category
Art & Design | Small Business | Inspiration | Product | Spotlight


