
The Art of Sticker Design : Technical Tips to Creating Professional Stickers

A selection of my best selling die-cute nature stickers
Sticker design wasn’t something I went to art school for. Nor was it something that came naturally.
It was something I learned over time during my years in the graphic design world and my previous experience in fine art. Can you believe that at one point I disliked badge, logo, and sticker design? So much so, that I avoided it all together?! A story for another day.
Now, I’ve crafted hundreds of feel-good, nature-inspired stickers to sell to hobby collectors and those looking to personalize their waterbottle, car, laptop, or journal.
Designing a custom sticker is more than just great art & design though.
It is an alchemy of eye-catching creativity and technical details that come together to create a travelling piece of art than can add personality to mostly any surface.
In this blog post, I wanted to share the more technical side of sticker design - which is an art in itself. These considerations are critical to making your artwork or designs look beautiful and professional once printed as a sticker.
This post is purely based on personal & professional experience. Please take what resonates & leave the rest.
Sticker Theme
Let’s assume you’re starting from scratch here.
One of the most fun parts about sticker design is choosing a theme. The theme should be one that you feel excited or passionate about and you’d have fun exploring through your art.
Themes will also make it easier for customers and retailers to search, and purchase from, your catalogue for a cohesive collection or presentation.
Sticker themes also come in handy to highlight different times of year or special events, if that’s your thing.
Sticker Application
The next thing to consider is where the sticker will be applied as this will determine what material the sticker will be printed on and how the sticker will be printed.
Will the sticker be indoor or outdoor?
Will the sticker be applied to a car bumper? Or on a jar?
Will the sticker be applied on the inside or outside of a window?
Or maybe the sticker will be hung in a retail location?
All of these applications will require different setups, material, and finishes.
Why?
If your sticker will be applied outdoors, you must ensure that it will hold up & stay vibrant when exposed to the elements. For that to occur, you’ll have to choose a non-paper stock, like vinyl, with a UV coating.
If your sticker will be hung in a retail location, you must setup the artwork (and the entire file) to ensure hang holes are added, include branding or information around your sticker, and/or a barcode to help it sell in-store.
Sticker Type
When it comes to sticker type, the options can look endless which may overwhelm you. You can easily reduce those options by determining application, your own or customer preferences, or looking at what pre-existing artwork you might be working with.

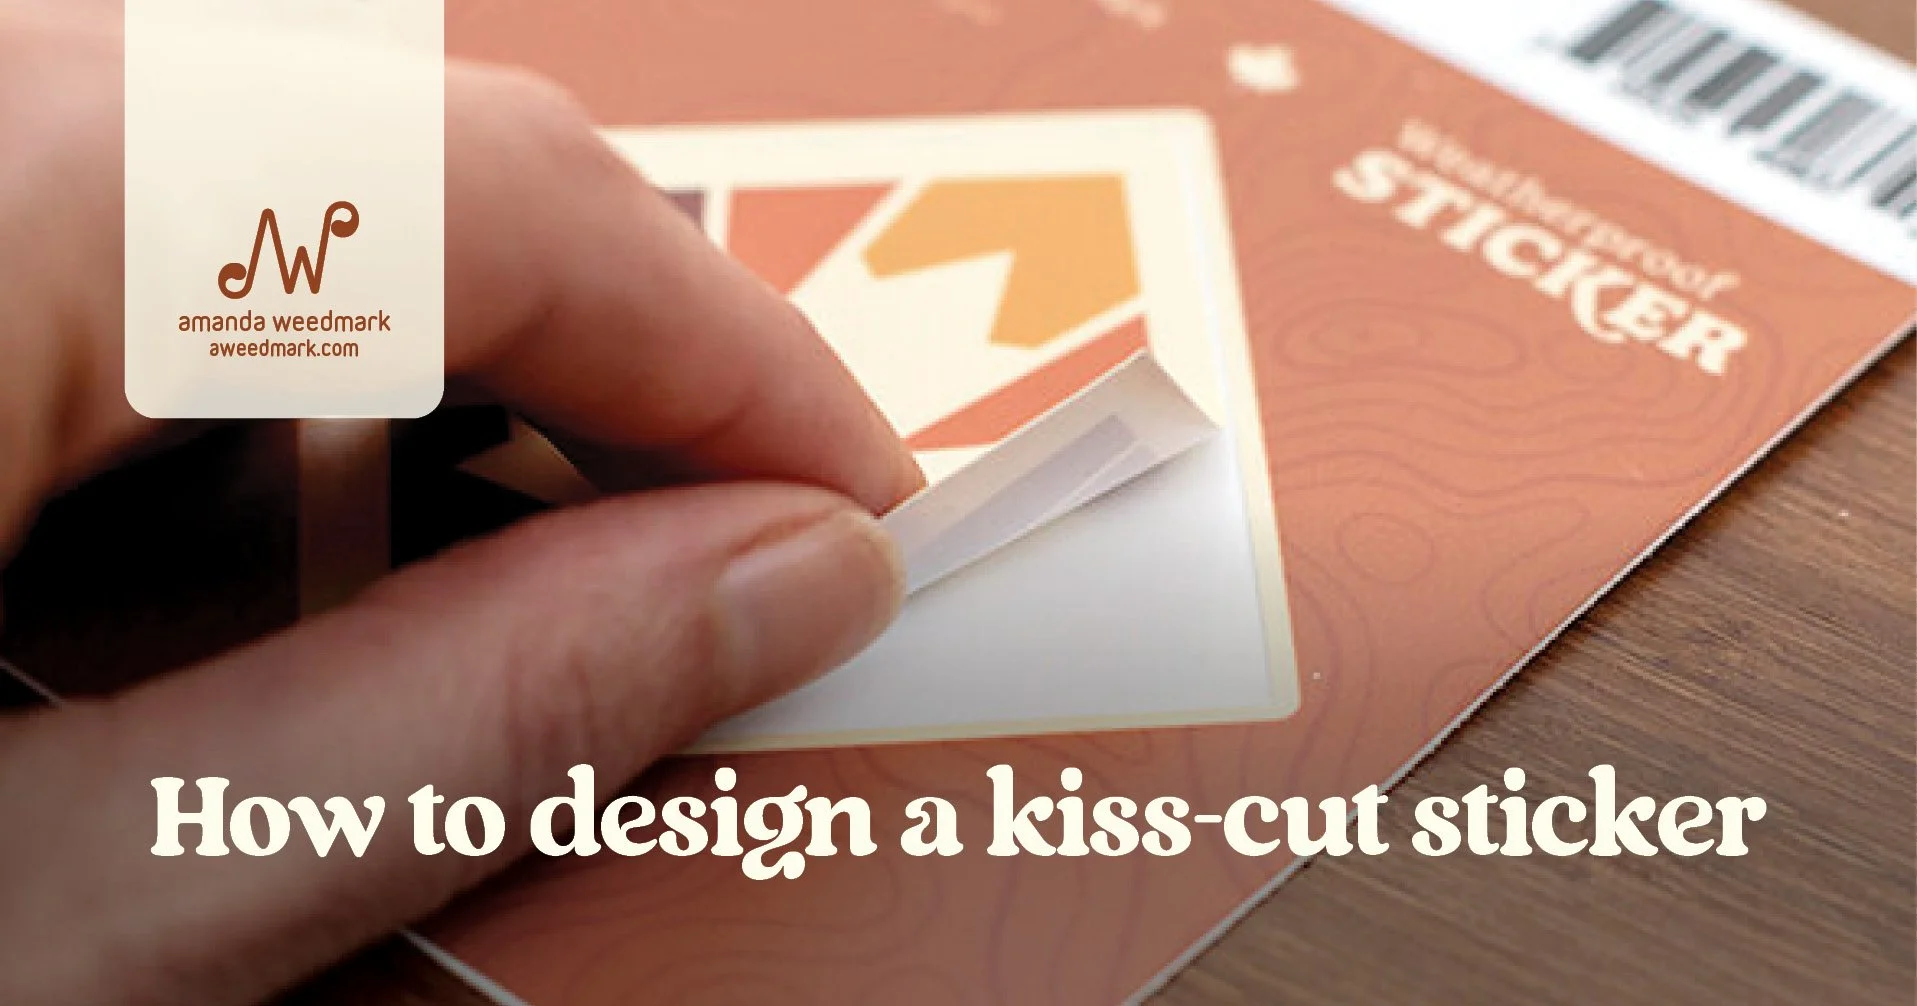
Example of a kiss cut sticker for retail display
Some sticker types available are:
Kiss cut (Learn how to design one here)
Die cut (trimmed into a custom shape)
Geometrical (square, oval, or circle)
Bumper sticker (typically a rectangle and a less permanent adhesive)
Sticker sheet (multiple kiss cut stickers on a single sheet)
Transfer (to transfer to a window, mirror, jar, etc.)
Static clings (temporary application on glass)
Roll labels (stickers on a roll)
Floor or wall stickers
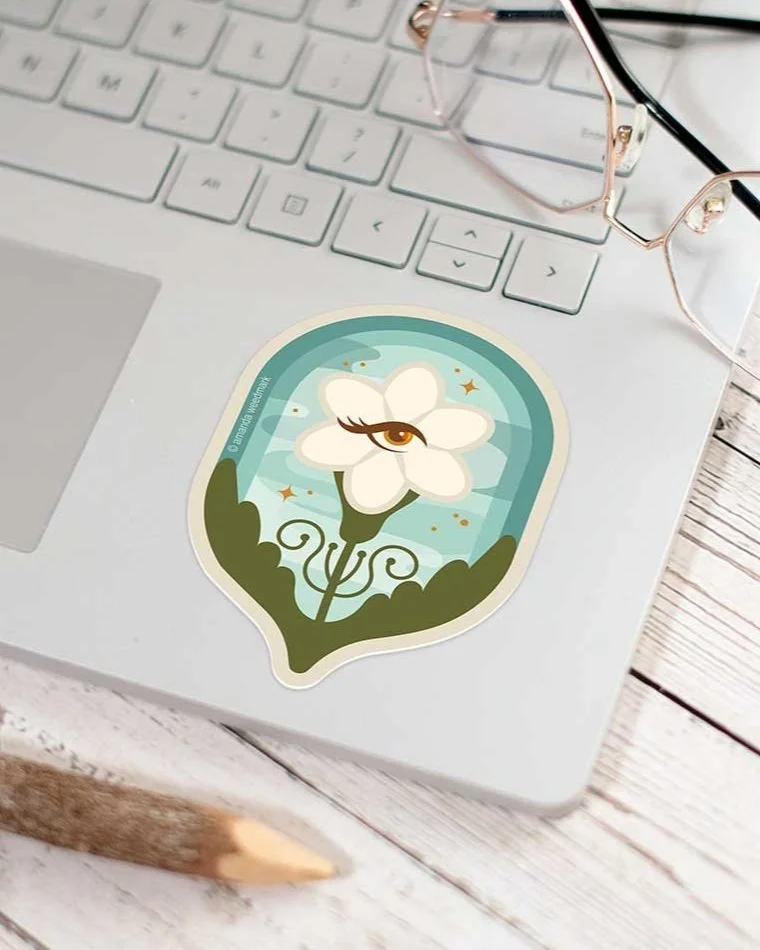
Example of a die cut sticker on a laptop
By taking sticker type into account, along with sticker application, it will ensure your design or artwork aligns to that during the artwork creation and file setup. Ultimately this helps to avoid possible time-consuming edits after the artwork is complete and make it more efficient and easy to send the artwork to print.
Sticker Size & Quality
Sticker size isn’t really a huge factor in this decision-making process as it sometimes comes down to preference. Although, again, should be considered to ensure quality output if it’s for a specific application.
Example; If you’re designing a sticker for a wall, you must ensure it’s readable from afar so size of the sticker, and elements within the artwork, will be important here.
Resolution determines quality
Additionally, print output is determined by resolution of the artwork, whether digital or a scanned analog piece. 300 DPI with a CMYK color profile is typically best. Although, check your printer’s recommendations for best results.
Digital pieces that are created as vectors can be scaled infinitely without loss of quality so you can create your artwork to-size which will help you avoid increasing the file size unnecessarily.
However, if you’re creating analog artwork, starting too small at the outset may require you to scale up. When you do this, you run the risk of your sticker looking blurry or pixelated. Some fancy tools exist that will prevent resolution loss but, I like to play things on the safe side and avoid having to deal with those adjustments down the line.
So, create analog pieces a little larger than needed as this will prevent potential loss in quality and give you flexibility to print the artwork on a product other than stickers in the future.
Sticker Finish
There are always a few finishes to choose from when it comes to sticker printing including glitter, holographic, clear, matte, gloss, and so many more.
Again, to avoid overwhelm, let’s loop back to our theme and application.
Let’s say you’re creating some space-themed stickers for water bottles. In that instance, you might consider a holographic or glitter sticker finish printed on a vinyl material that will not only bring this theme to life but will be able to withstand the dishwasher.
Additionally with the glitter option, you must also take into account where you want that finish to show through so you can avoid using color there. The opacity of the ink can cover or dull the finish so if you want to see the finish, leave open spaces (or “knockouts”) in the artwork for that to happen.
Purchase Samples
If you’re unsure about any of the above, I highly recommend purchasing samples (that most printers offer) so you can get a true look and feel for the material, quality, and finish. This will ensure you are choosing the right spec’s for your sticker design at the outset, and aren’t surprised by the end results.
While sticker design can be a little more involved than creating fun artwork and hitting the print button, I hope that these technical sticker tips save you a lot of time and headache in the long-run.
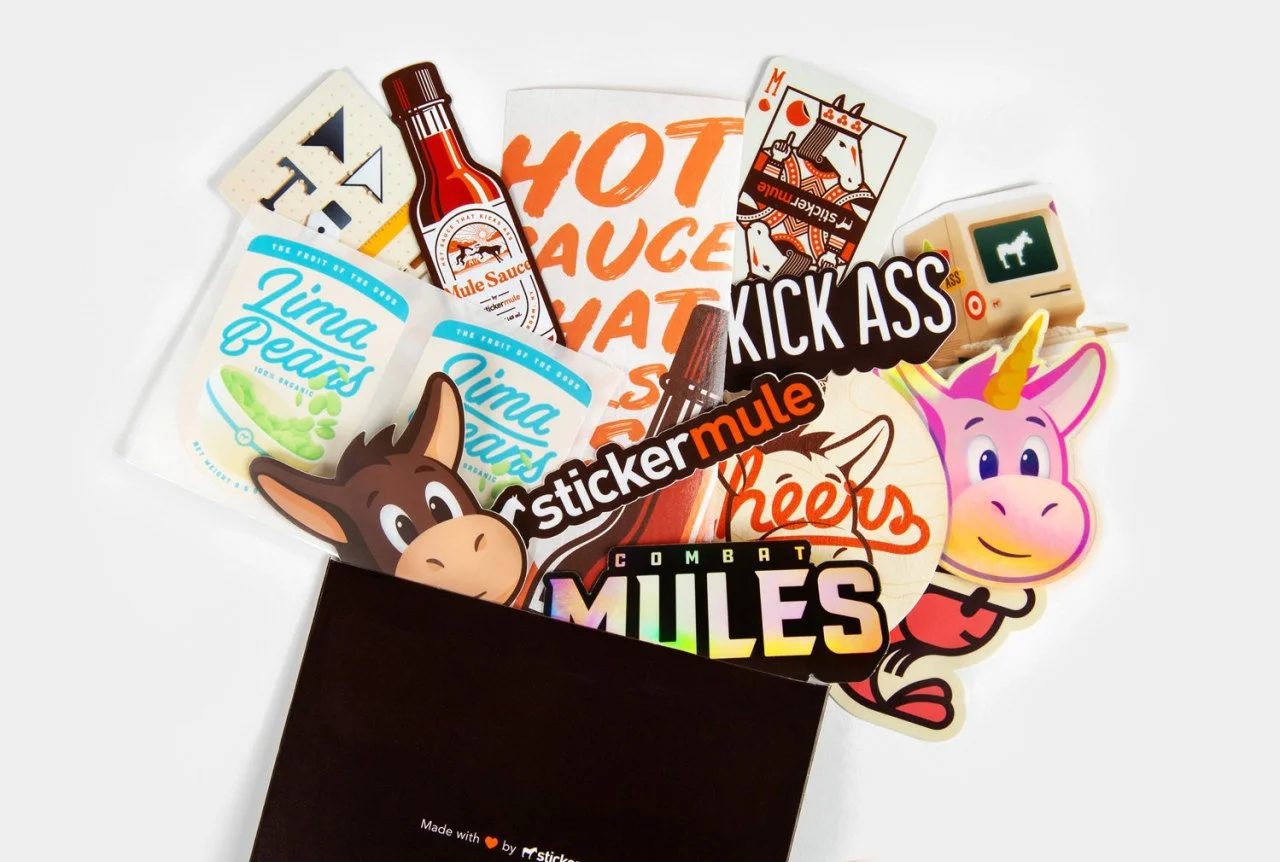
When you’re ready to send your artwork to print, I highly recommend you check out Stickermule.
I’ve worked with Stickermule for a number of years to print my own artwork on custom stickers, which can be found on my website and in hundreds of retail shops all over North America.
They make ordering easy, have 5-star customer service, and amazing quality products.
Or, read by category
Art & Design | Small Business | Inspiration | Product | Spotlight


