
How to Brainstorm like a Boss

Blank pages got you scared? Don’t worry! I’ve got you!
In this blog post, I’ll get you to brainstorm your way to some stellar ideas through a series of steps that, I find, make brainstorming easy.
When we’re working on creative projects, we can sometimes get stumped as to where to begin and how to find inspiration. There are so many ideas or techniques pulling our attention that it can cause overwhelm and stop us in our tracks.
Brainstorming is a lost art.
With the world being so fast paced and technologically-driven, most of us just search for inspiration online and want to get to the idea right quick by using programs or apps to help do the heavy lifting. While that’s definitely one way to go, I’m challenging you to try something more analog.
In my experience, brainstorming this way will offer original ideas that come from a place of personal experience, story, and interpretation which is far more involved and authentic than searching externally (or digitally) for that spark of inspiration.
As much as I might dislike the slow moving train that brainstorming can be sometimes, it has always offered a wonderful foundation for when I’m considering what my next release or project might be about.
Brainstorming helps grease the wheels of creativity so consider it a friend and don’t worry about being wrong. No such thing!
But, how DO you brainstorm? Let me share my process.
Pick a topic or theme
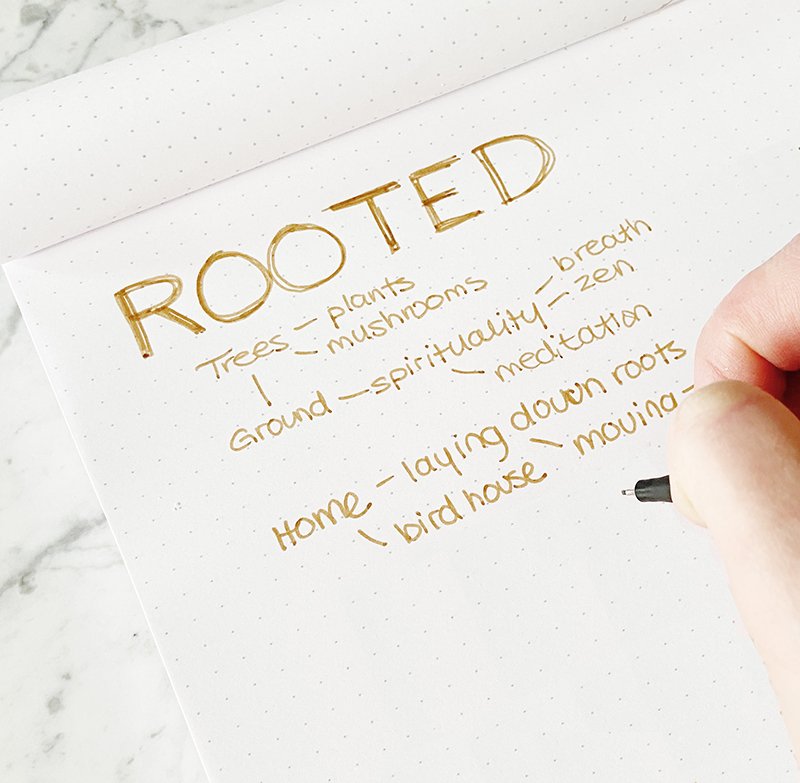
Topic, themes, and keyword exploration from my Rooted release
Start out your brainstorm session with a broad topic or theme you’d like to focus on. Once you’ve chosen a topic or theme, drill down to something more specific within that theme.
Maybe your theme or topic is “nature”. Once you have that, start narrowing it down to more specifics like “trees of the Pacific Northwest”, “woodland animals”, “backyard gardening”.
In getting specific, you’ll eliminate options which can cause that overwhelm and will encourage more creative ideas to surface. The specifics will also resonate with people more directly.
In this example shown, my latest release started with the word “rooted” (based on a book I was reading and all the forest walks I take). From there, I branched out into 3 more specific sub-topics (trees, ‘ground’, and home) based on how I interpreted that word and the immediate things that came to mind.
Can’t figure out a topic or theme? Make a list of things you love and things you hate. Then figure out what topic gives you that fire in your belly. Start there.
Generate a keyword list
Once you have your topic or theme in mind, start noting related keywords. Whether they are common ideas or broad, write them all down. This list doesn’t have to be extensive or exhaustive, but can be if you so choose. It just needs to be enough to get those creative engines firing.
By starting with these two steps, it will help create cohesion in your collection, help you generate ideas, and keep on track creatively throughout the process.
Start sketching

With the topic and keywords in mind, start sketching anything and everything that comes to mind. Don’t think too much and remove any judgement of ideas that crop up or how the sketches look.
Being rough and loose at this stage will help you quickly work through lots of ideas without getting caught in the weeds of details or perfectionism. This stage in the process is all about quantity not quality.
Sketch as many ideas as you can think of. You can even put a time limit on it so that you’re not overwhelmed by a never-ending brainstorm session.
Sketch some more
Take a concept (or two, or three) you like and sketch out different variations of it on a separate sheet. Doing this will give you a number of concepts and variations to choose from when it comes to selecting ones you want to digitize.
Plus, alot of times, our first iteration may not be the best. I usually call this the “low-hanging fruit” because it’s the first thing you think of. But it might also be for others too. So by reworking the same idea, we’re digging a little deeper, getting a little more creative, and going beyond what might be “common”.
Let it rest

Once you’re feeling good about the sketches, put the sketches away for a few days up to a few weeks so that you can come back to it with fresh eyes and make adjustments before you make your final selections.
During this “rest” period, keep your sketchbook handy as more ideas may hit you when you least expect it.
Digitize
With fresh eyes, bring your most favorite ideas to life in your favorite medium.
Comment below to let me know what you think!
Or, read by category
Art & Design | Small Business | Inspiration | Product | Spotlight


